Documentation Home Page ◇ HYPERSIM Home Page
Pour la documentation en FRANÇAIS, utilisez l'outil de traduction de votre navigateur Chrome, Edge ou Safari. Voir un exemple.
Step 3: Opening a Model, Loading Sensors and Starting a Simulation

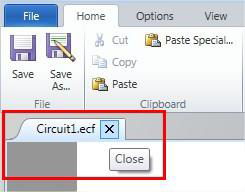
NOTE: If you completed the previous section of this Quick Start, you can close it now. You are prompted to save the model you were working on. This tutorial won’t use that model again, so click No.
See also: Common Keyboard Shortcuts.
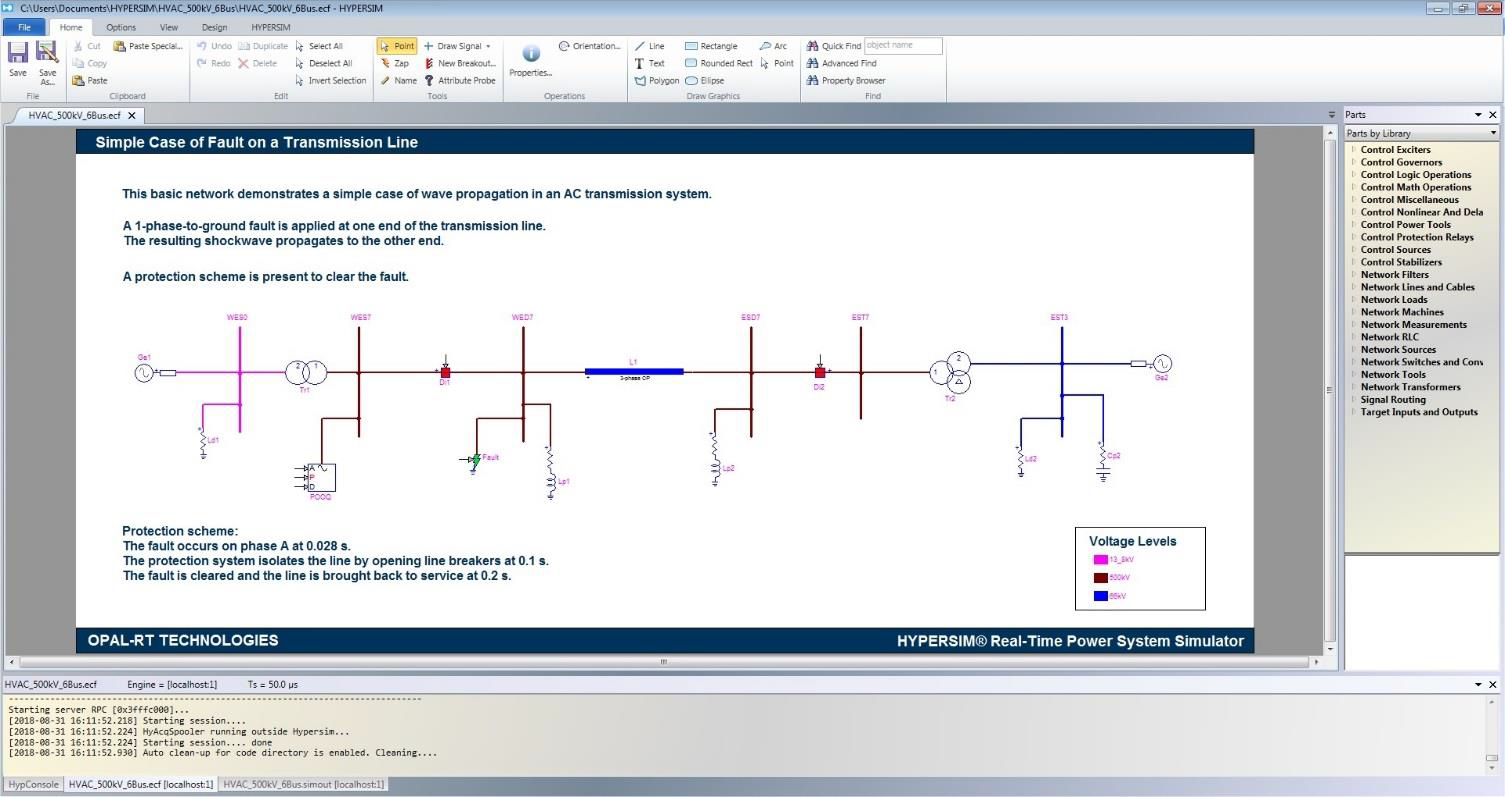
Open the model HVAC_500kV_6Bus.ecf from the Example menu located in the Transmission & Distribution category, then click Open Example.
")
You are then prompted to choose a destination folder for the model to be imported.
By default, this is:
C:\Users\USERNAME\Documents\HYPERSIM
Click Select Folder.

Once the folder is selected, HYPERSIM® copies the example files to the selected folder.
You can zoom in and out of the design by using CTRL and scrolling the mouse wheel up or down.
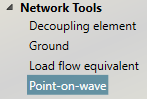
NOTE: The component shown here is called a Point-On-Wave (POW) and is mandatory in all models with network components.
|
|

It is required for time synchronization of the acquisition. It works by monitoring one phase signal of the bus to which it is attached, so ensure that the system is always stable at that location.
Placing it adjacent to a generator helps for stability of the voltage sine wave.

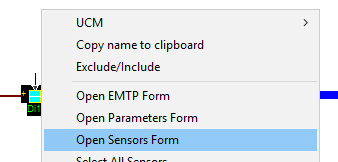
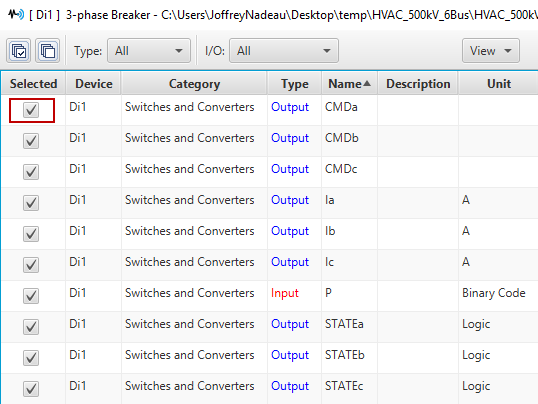
To visualize and edit sensors, right-click the component and click Open Sensors Form. For this example, let’s use Di1.
Use the Selected checkbox to select or de-select specific sensors.
Go to the HYPERSIM® toolbar to access the sensor control.
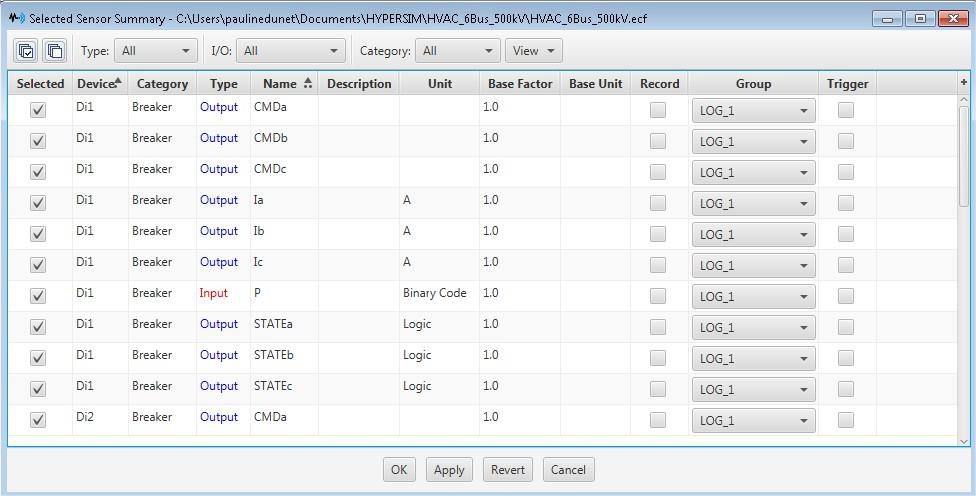
Click Sensors & I/Os > Selected Summary in the Ribbon to see the selected sensors.
All selected sensors from the design are shown in this panel.
Note: In HYPERSIM®, sensors play two roles: first, they allow monitoring of the various signals across the model in ScopeView. Second, they can be used to configure analog and digital I/O as well as communication protocols.
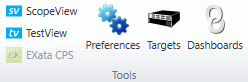
Add the OPAL-RT Simulator to the target list by clicking Tools/Target Manager > Target
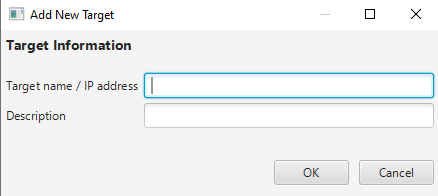
Click the plus sign + (Add Target).

Enter the IP address of your target then press Ok.
If the HyCore version is set to Unavailable, see Installing HYPERSIM on a Target from Windows.
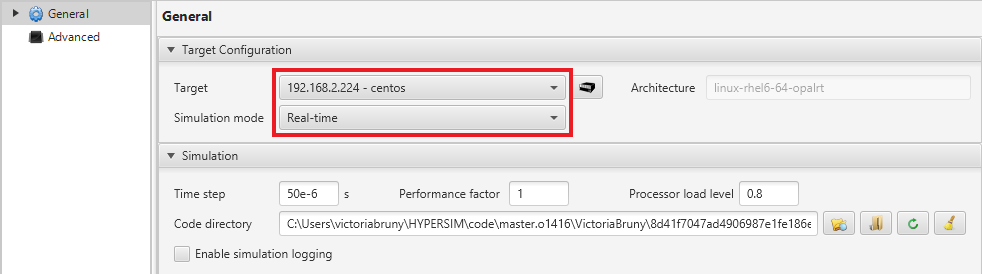
Click Simulation > Settings on the HYPERSIM® ribbon.

Under Target, choose the target IP previously entered in Target Manager.
Under Simulation Mode, choose Real-time then click Ok.
By clicking Simulation > Start in the HYPERSIM® toolbar, the tasks are mapped automatically to the various cores, the code is compiled and the simulation starts running.
This can take from a few seconds up to a few minutes, depending on the size of the model.
Once it is started, the Start button is grayed out and the Stop button is available to stop the simulation.
OPAL-RT TECHNOLOGIES, Inc. | 1751, rue Richardson, bureau 1060 | Montréal, Québec Canada H3K 1G6 | opal-rt.com | +1 514-935-2323